10.15.2011 – Saturday
Before I make this out to sound like a simple install (it took about an hour), keep in mind that earlier this year four cables (ethernet x2 and trench log x2) were buried between the cabin and the garage. Along with burial, each line had to be run through the wall of both structures, and in the garage the wire had to be run up the wall and anchored in the attic. Also, since that time, the ol’ man installed two junction boxes, one at each end of the trench log.
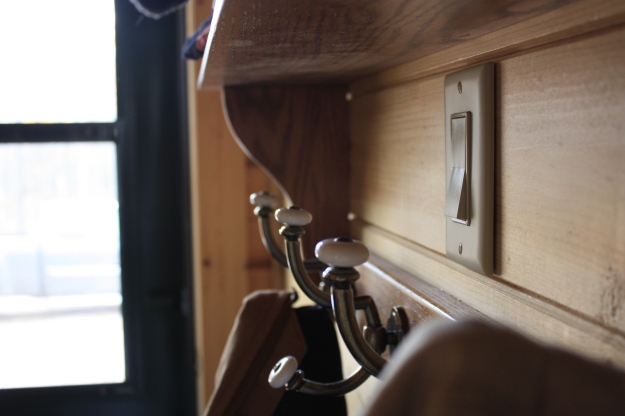
I began by joining the 18 gauge interior 12V wire with the trench log in the cabin basement and then sending a loop of wire over to the main distribution panel. The loop of wire will eventually be cut and a digital timer will be installed near the main AC distribution panel. The end of the 12V interior wire was then sent over and up into the half wall between the entrance way and the kitchen. The Sonicrafter made plunge cutting in a light switch almost too easy. The switch was mounted on the entrance way side of the half wall and is hidden in the coat rack.
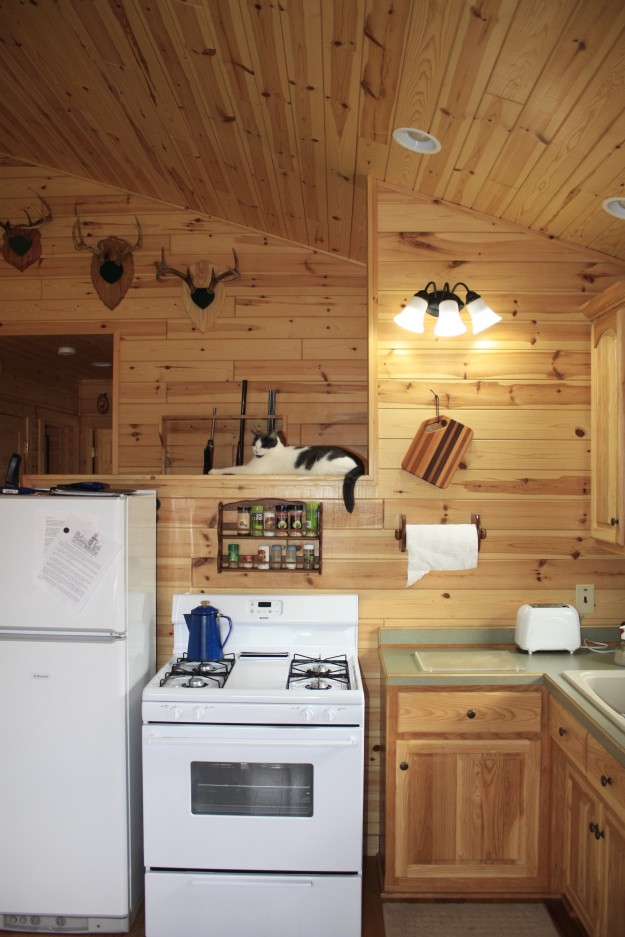
Moving to the other side of the wall. Once the outline of the fixture back was traced on the wall I punched a hole with a cordless drill and then used a cordless skill saw to cut out a spot for the light. With the wire strung and switch installed the last step in the cabin was to wire the light in. I finished the mounting and wiring while the ol’ man cleaned up some saw dust.
With the cabin wiring complete I moved to the garage. In the attic I wired in another junction box and completed the circuit. I reinserted the 10A fuse that protects our 12V power lines and then headed for the cabin. The light was already on. Everything works.
A final parting shot of the entrance way showing the Xantrex control panel with the circular Victron BMV 600 battery monitor next to it, the new 12V light fixture in the kitchen, and the hidden 12V light switch in the coat rack.


