6.4.2010-Friday
Woke a little after 8 a.m.
It wasn’t long before Dad and I were outside setting up for pour. First we cut the four steel bars welded to the pole (placed in order to prevent it from turning in the concrete) to a suitable length. Then we cut the 4 inch section of pole specifically welded to the top of the 21 foot 6” pole off. The rain was on its way so we decided to string the two strands of #2 from the attic of the garage down the wall to the solar charge controller. It went fairly well. Dad drilled through to the space between studs and threaded the cable down. I caught and then remembered that we have no way of knowing which is positive and which is negative. So we pulled it out and then labeled each strand and repeated the process.
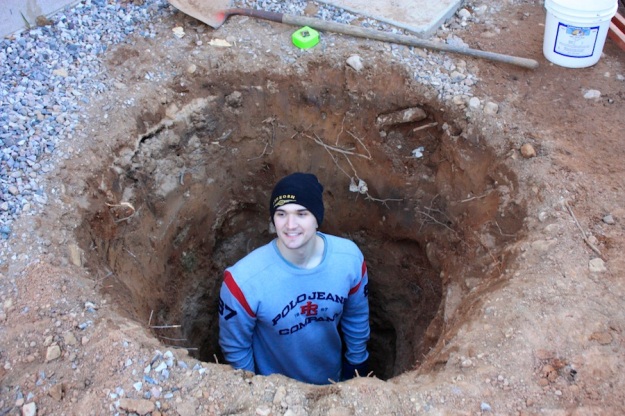
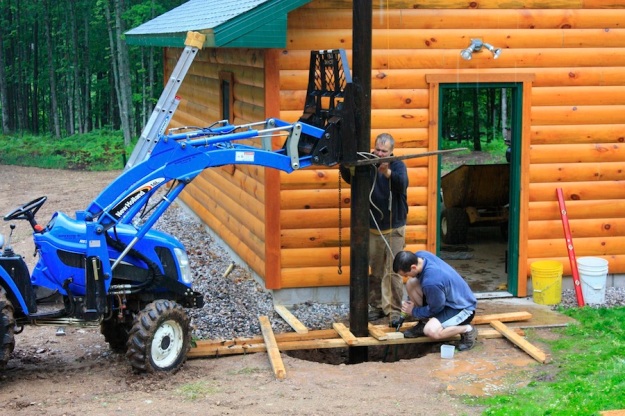
Now it was time to work on the pole. I got back down in the hole and dug. Via the post hole digger I pulled out enough fill to overfill the bucket on the Ford. By that time the hole was now over 3 feet in diameter at the bottom but only 5’4” deep. About 2 to 2.5 tons of concrete was judged to be enough to fill the new hole. But first we had to place the pole. I devised a way to raise it with one fork and a short tow strap. We carefully transferred the pole to the site and then raised it. It went quite well.
Just prior to the operation I placed a short 2 x 4 in the bottom of the hole so when we dropped the pole in it would not sink into the dirt – this way it would maintain the correct height. Also, I placed a C-clamp on the top of the pole with a nylon string attached. The string was used in conjunction with a locking pliers, which served as plum to true the pole vertical. The last touch was running a copper grounding cable down the inside of the pole and securing it at either end. The copper was attached to an 8’ grounding rod driving in a good 5’ from the very bottom of the hole.
When the pole was finally stayed in the hole we had 2 x 6’s on either side, with the pole boxed by 2 x 4’s. The 2 x 6 supports were staked excessively and then secured further with 2 x 4 at either end themselves stacked or butted against the garage wall. When the pole was free of the tractor I climbed down into the hole with the splitting maul and whacked the bottom of the pole – which slid relatively easily from side to side on the 2 x 4. In this way we were able to align the pole perfectly vertical.
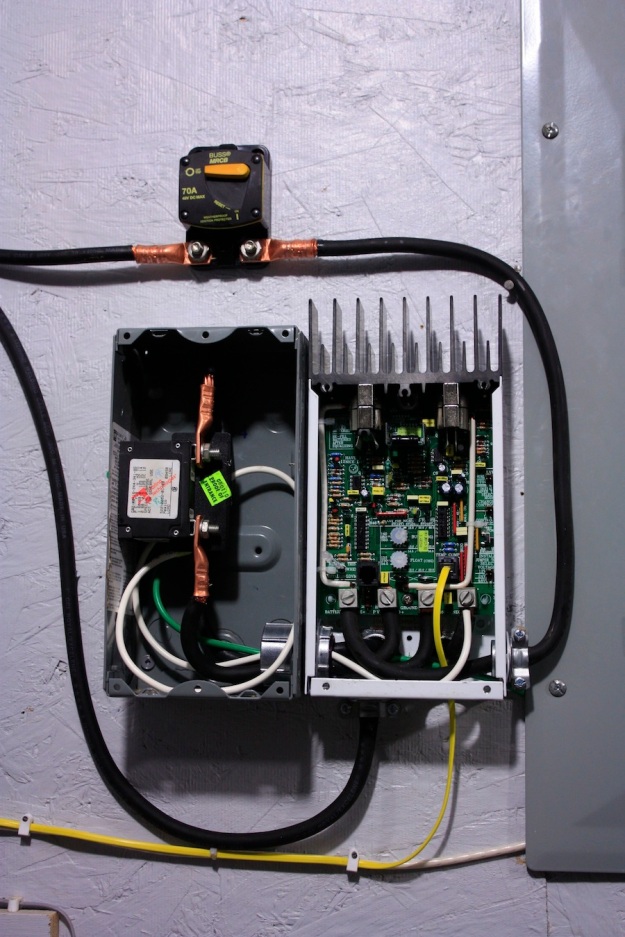
The GFP is designed to mount onto a panel, instead of plugging in like a standard breaker. Earlier in the week I drilled the holes to mount the GFP and then used a dremel with a small cutting disk to slot out a spot for the switch.
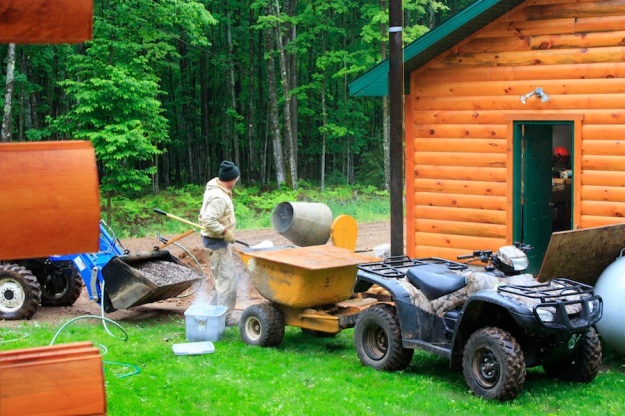
While Dad poured concrete I worked to wire in the solar hardware. The stiff #2 cable run from the solar panels was very difficult to work with. After some time I was able to string one of these cables into the electrical box containing the GFP and the other into a block on the charge controller. The welding cable was far easier to work with. It took about 3 hours to wire everything in. A quick test and everything lit up and functioned the way it is supposed to – at least without panels anyway.
We finished at 8:00 p.m. It was still raining.


I want to thank you for sharing this information (and keeping the blog open for so lone). I used your blog extensively when I put my own solar power system together for my shed a couple years ago. I’m putting another small solar power system together and your info is still a good reference.