7.28.2011-Thursday
Dad and I arrived at the cabin around 4:30 p.m. Don’t think us lazy or slow to get going, we were walking around the EAA grounds in Oshkosh, WI at 7:30 a.m. this morning. And for the aviation geeks out there, we got to tour the cockpit and rear fuselage of the only airworthy B-29 Super Fortress left in the world. Exhibits opened at 9 a.m. and we were in line a few minutes before nine. The second group to tour the plane, that was me and the ol’ man. So, after waking up a little past 5 a.m. and spending 4-1/2 hours on the road we arrived at the cabin. 4:30 p.m.
On the way in to the cabin, on the back roads, I saw this spider from the cab of the truck and we had to snap a picture before moving on. I got lucky and caught a stunning high resolution image of this big girl. She has a beautiful web with a single long strand going up to a half curled leaf with a fly spun up for a late night meal.
All right, enough – on to the battery monitor installation. The gist of it is this: a Victron BMV 600s battery monitor is being installed in the cabin and linked via ethernet to a shunt (with onboard computer chip) that is to be placed on the negative main line in the garage. In order to link the monitor and the shunt a trench is being put in between cabin and garage. We will be placing two ethernet lines and two electrical lines so we can add 12V lights to the cabin in the future. The second ethernet is for redundancy – to ensure that this is the last trench we dig between the two structures. I have a wild idea for one of the 12V lines, that may gain support from the ol’ man, to hang a railroad lantern or boat lantern (something with colored glass – a combination of blue, green, red, etc…) and put a 12V LED bulb in it to make the most epic nightlight ever. DC means no inverter between bulb and battery, thus a super high efficiency illuminated novelty.
The first order of business was to install all the hardware that we could before tomorrow morning. Why the deadline? Because tomorrow we have reserved a trencher from the local hardware store (local means a 45 minute drive). I went to work right away on installing the shunt. Originally I figured it would be a simple matter. I would simply bolt one end of the shunt to the bar, shim it a little so I could secure it to the wall, and then attach the main lines to the other end. Hmm… It never works out that way. First off, there is no room to bolt directly. Secondly the bolts are not long enough to make it through my double copper bus bar. In hindsight, I really didn’t need to stack two copper bars to make a single functioning bus bar. In order to form a bridge between shunt and main negative lines I had to dig into the off grid parts drawer. In the drawer are remnants of other installations: spare wires, swedge tool, latex gloves, dielectric grease, spare muffin fans, and… ah ha! some spare copper lugs. And there was the answer, some old 4/0 heavy copper lugs. I hammered one flat and drilled out a second hole. After making a shim out of a thin scrap of wood, I was ready to install the shunt.
Soon I was able to test the monitor. Everything was now up and running. Proof of concept.
Next there was some less glamorous, and less photo worthy work to be done. Two ethernet lines were run up the wall, through the garage attic, then down the wall again. Why the madness? We have buried gas and electric lines already in place that we cannot cross, so we have to get the lines over to a place where we can run them out the garage wall and then run underground to the cabin without the risk of crossing other buried lines. Two 14-3 trench log cables were also run down from the attic through the wall to be buried between buildings. At a future date a junction box will be installed in the attic and the 14-3 trench log wire will be wired in to provide a 12V power supply to the cabin.
As the night was coming to an end I decided to plug in a short cat5e cable to the double ethernet outlet I just wired in to the wall. I had already inspected all of the components for the install earlier – about a week ago. But of course, I missed something. And at 6:40 p.m. tonight I had to figure out how to get an 8-pin ethernet cable to work with a 6-pin connector.
7.29.2011-Friday
We picked up the trencher, a gas powered walk behind with a four foot bar and a set of rubber V-tracks, at 7:45 a.m. from the hardware store. While the ol’ man took care of the renting part I wandered back to the telephone and electrical department. Four dollars later I had 10 nice new 6-pin connectors in hand. After a bit of getting used to, the trencher worked wonderfully. The first 15 or so feet from the garage was a beast. I couldn’t trench more than a few inches before having to raise the bar our of the ground so a rock could be manually removed. After a while it was determined that the easiest thing to to do was to let the trencher chew on a rock for a while in the hopes of loosening it for removal. While the ol’ man worked a large rock loose, I turned around and started to trench from the cabin with the intention of meeting in the middle. For some reason I cruised through half the distance in a few minutes and only managed to hit 3 or 4 rocks. Not too bad. In the beginning it looked like this might take 2 hours, but we finished in just 45 minutes. On the clock, we loaded up the trencher and hauled it back to avoid paying a “full day” rental fee instead of our intended “half day”.
The project went very smoothly. It was easy to convert an 8 pin ethernet cable down to 6 pin with the right tools. During planning, one option originally considered was to buy ethernet cables to length and do the install. However, we eventually went with the buy-bulk-cut-to-length approach because that means I get to buy a new tool (and it was cheaper). I received my official ethernet cable training via a quick internet search that sent me to a video tutorial at CableSupply.com on how to assemble ethernet cables.
Here is a custom cable: 8 pin to 6 pin.
The complete project inventory for battery monitor has been uploaded and the I’ve also updated two previous posts to reflect the current set up: off-grid system :: diagrams and off-grid system :: overview. The total project ran a little over $400, but of that $95 was to rent a trencher and $67 was for two runs of wire not related to the battery monitor. The monitor only cost $158.10 shipped and included everything needed for the install (providing it is mounted within 25 feet of the batteries). The components needed to install the monitor in the cabin, in other words, the cost to run a wire from the garage to the cabin: roughly $160.
Programming the Victron BMV 600s – once I had finished the install, I read through the operation manual. I programmed the following settings:
- Charge Efficiency Factor (CEF): 95% (How much energy gets from the charger to the battery, losses are commonly due to internal resistance from the battery or wire losses – this will be automatically calibrated by the monitor so what I entered is more or less a starting point)
- Tail Current (It): 0.5% which is 7.7 Amps (I used this instead of the recommended 4% by watching how many amps the MS3000 charge controller puts into the batteries while on “float” – this setting needs to be greater than the minimum current at which the charger maintains the battery, or stops charging).
- Synchronizing: I waited until batteries were on float from the solar panels (< 1 A current from charger) and then held down the “+” and “-” button for 3 seconds to zero the monitor at full charge. After doing this I realized that this doesn’t really do anything – the meter automatically synchronizes every time the batteries reach full charge.
- ZERO: this was set when all loads were removed from the system in order to calibrate the meter (teaches the meter what zero current looks like).
- Battery Capacity* (Cb): 1540 Ah
- Charged Voltage* (Vc): 13.3 V (float is just under 13.5 V)
- Charge Detection Time* (Tcd): 4 min (after 4 min above Vc programmed value AND below Tail Current batteries are considered “charged” – this is important because the monitor resynchronizes automatically each time the batteries are fully charged)
- Peukert’s exponent*: 1.15 (this is a calculated value that describes how, when a battery is discharged faster, its Ah capacity decreases. From the Victron manual, “The higher the Peukert exponent the faster the battery size shrinks with increasing discharge rate”).
*Vc, Cb, Tcd, It, and Peukert’s exponent had to be set manually, all other parameters can automatically adjust over time. There are many more parameters that can be manually set, but I have determined these five to be the most important for our particular set up.
Overall, I found the Victron BMV 600s manual very informative. That said, I’m going to shamelessly copy from it as I go over the features that make this battery monitor the new killer app for the cabin.
3.1 Monitoring menu
In normal operating mode the BMV-600 can display the values of selected important parameters of your DC system. Use the + and – selection keys to select the desired parameter.
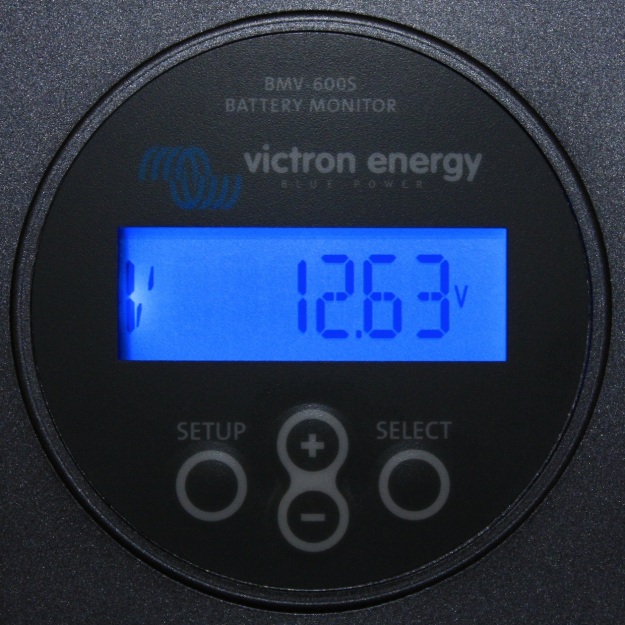
V
Battery voltage: this readout is useful to make a rough estimation of the battery’s state-of-charge. A 12 V battery is considered empty when it cannot maintain a voltage of 10.5 V under load conditions. Excessive voltage drops for a charged battery when under heavy load can also indicate that the battery capacity is insufficient.
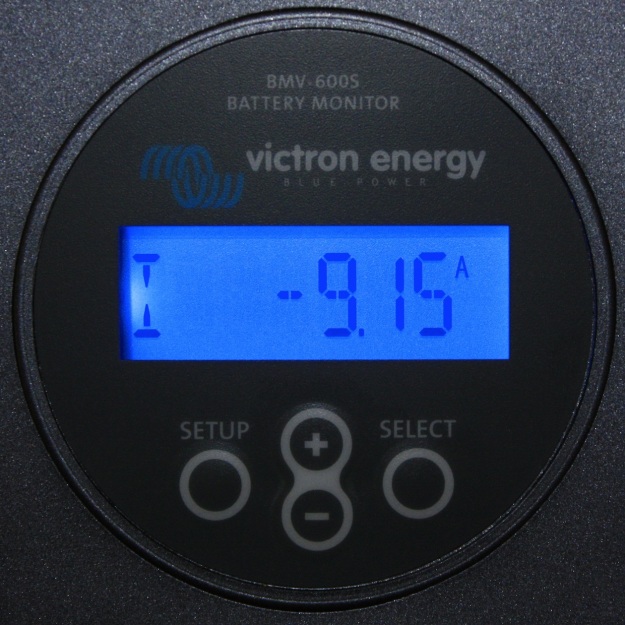
I
Current: this represents the actual current flowing in to or out of the battery. A discharge current is indicated as a negative value (current flowing out of the battery). If for example a DC to AC inverter draws 5 A from the battery, it will be displayed as –5.0 A.
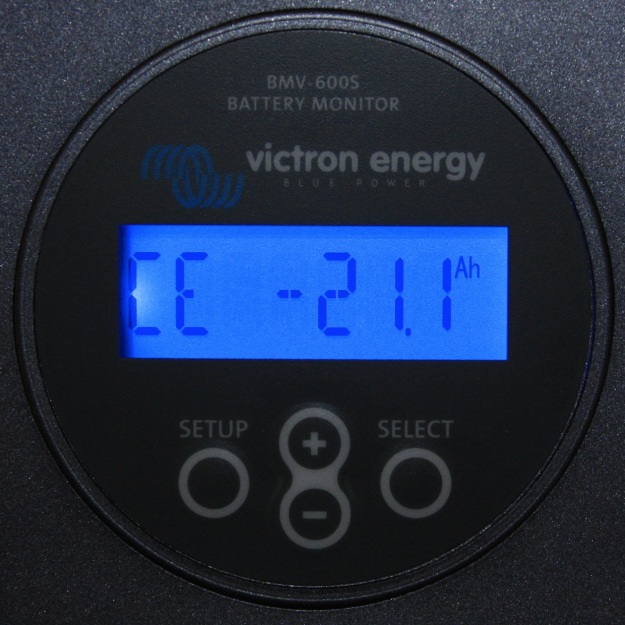
CE
Consumed Energy: this displays the amount of Ah consumed from the battery. A fully charged battery sets this readout to 0.0 Ah (synchronized system). If a current of 12 A is drawn from the battery for a period of 3hours, this readout will show –36.0 Ah.
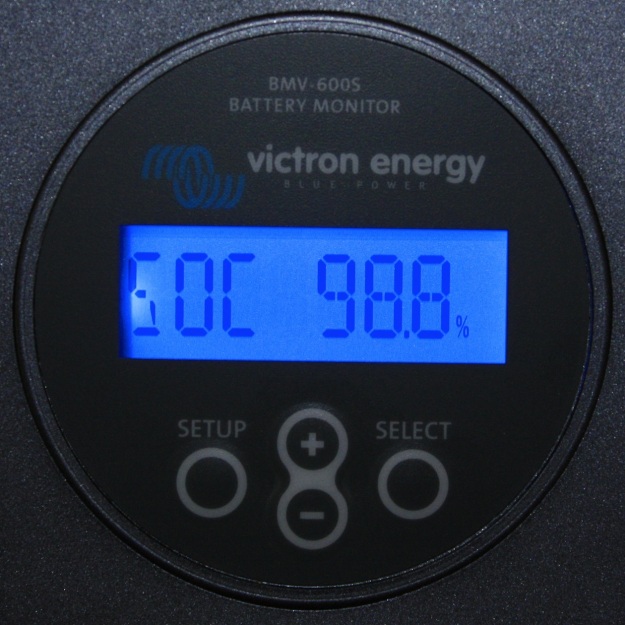
SOC
State-of-charge: this is the best way to monitor the actual state of the battery. This readout represents the current amount of energy left in the battery. A fully charged battery will be indicated by a value of 100.0%. A fully discharged battery will be indicated by a value of 0.0%.
TTG
Time-to-go: this is an estimation of how long the battery can support the present load; until it needs recharging.
And when we were all finished I almost forgot about the 12V LED lights! The way this monitor works is by acting as a gate keeper to all ins and outs to the batteries. The LED lights were wired to the bus bar. Since I want this monitor to be as accurate as possible I did a quick rewiring so that one end of the shunt is connected to the negative bus bar and the other is connected to the negative ends of the 12V LED light power line, MS3000 main line, and C60 solar charger line.
7.30.2011-Saturday
So… last night I was zeroing the meter so when it displays 0 V or 0 A it is accurate. Unfortunately I manually synchronized instead. I did this when the batteries were around 87% SOC so now the meter read 100% SOC instead of the actual 87% SOC. So it wasn’t until later today when the sun fully charged the batteries that the meter was once again synchronized – this time automatically.
The Victron BMV 600s does exactly what I want it to do. I would however like it to display how many DC watts are being used or put into the battery bank. I’m most familiar with the units of Watts so I was a little disappointed not to see this on the monitor (though to be fair, I was aware of this at the time of purchase). As for the daily operation of the battery meter: I like to leave the monitor on “SOC” and see how much is left in the batteries at a glance. Then when running appliances overnight I look at the “TTG” and see how long the system can run under the current load (will we make it till morning?). When the solar panels are producing energy it is nice to glance at the “I” (current / Amps) and determine if there is an excess in energy that the batteries can’t take that we could use in the cabin. As the meter gets more use we’ll get a better sense of how accurate it is. As of now, it looks like the meter is going to be the most useful addition to our system yet.


Very interesting. I don’t understand all the technical stuff, but most of it makes good sense.
Love,
Your Wife
Thanks for your writeup… I have been looking for something to monitor my batteries… I was looking at the trimetric but your review swayed me… I’ll be installing one of these on my off grid cabin’s system this fall…
thanks again
Thanks for the good resource material.
Just a question. Are there any other alternative batteries other than lead acid and what would the cost implication impose?
Kind Regards
For practical/economic purposes Lead Acid is pretty much the battery to go with. The only choice is flooded (more maintenance, easier to examine for aging and health over time) or AGM (less maintenance, more money). Used forklift batteries are a popular battery to repurpose for off-grid use, perhaps electric or hybrid batteries from cars will gain popularity in a few years if the chargers will support that battery type.