5.10.2014 – Saturday
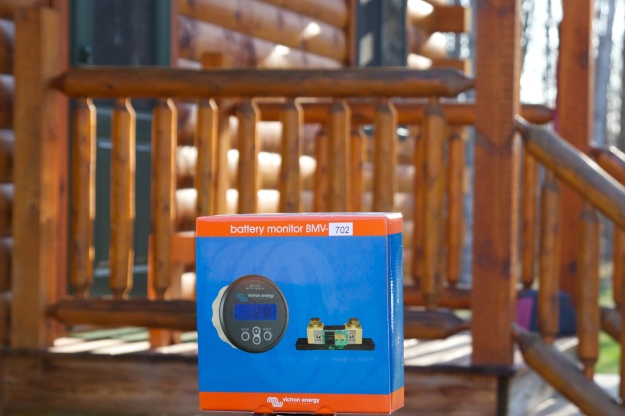
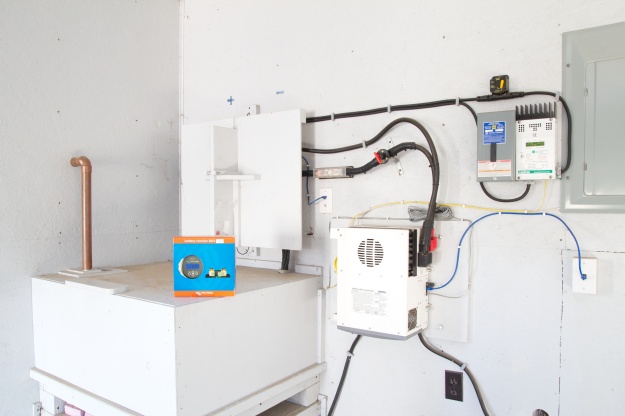
Through a bit of luck I somehow managed to acquire a Victron BMV-702 this Spring (big thanks to Matthijs & John). The current BMV-600s has served the cabin since July 2011 and performed like a champ. For a technical overview/run-down on the BMV-702, check out John’s post: BMV-702 insights | Victron Energy. I’ll share some photos and impressions from my specific application.
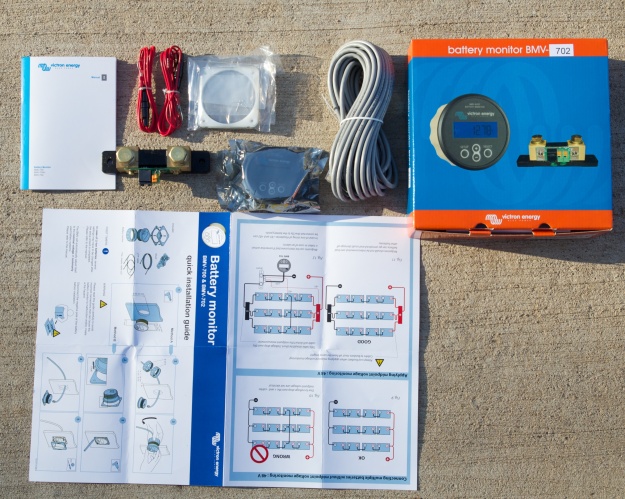
The packing is compact and tidy and the box includes everything necessary for installation (clockwise from bottom):
- Quick installation guide (featuring tidy diagrams)
- User Manual
- 500A/50mV shunt
- 2 meter battery cable with fuse (red)
- Faceplate for front mounting
- Meter (with rear mounting ring, in anti-static packaging)
- 10 meter RJ 12 UTP data cable
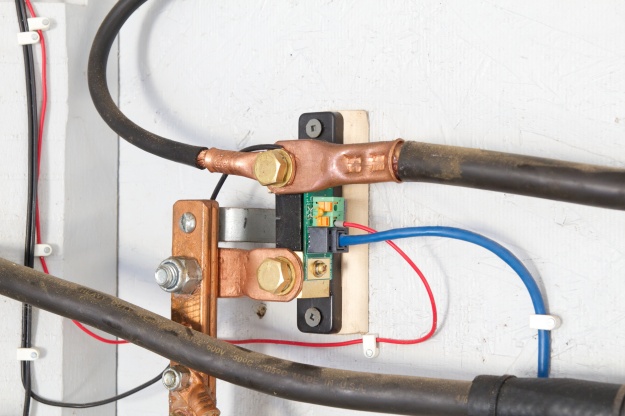
Upon close examination the shunt is different from the BMV-600s shunt that it replaces. The BMV-702 features two quick connect PCB on the current shunt where the BMV-600s featured only one. So… what to do with an extra quick connect PCB? After a leisurely read through the user manual I uncovered a few different uses. The one that peaked my interest involves an optional battery temperature sensor that can automatically adjust battery capacity as temperature decreases. Once the sensor becomes available in the United States I’ll be installing it in short order (hopefully before October concludes and winter begins again). Due to our battery placement in an unheated garage, this alone is reason enough for the upgrade at the cabin.
Fore reference, the BMV-600s was programmed as follows:
- 85% CEF (charge efficiency factor)
- 1.20A Ith (current threshold)
- 1.25 PC (Peukert exponent)
- 13.5V Vc (charged voltage)
- 1500Ah Cb (battery capacity) — use 850Ah for winter
- 50% DF (discharge floor)
- 0.8% It (tail current)
- 4 min Tcd (charged detection time)
- 1 Tdt (time to go)
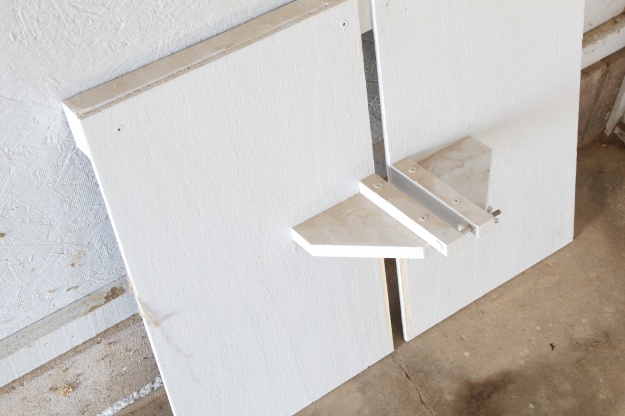
Having to not reprogram for winter (<50°F) would simplify and increase the accuracy of the readings. I’m happy to pass this adjustment off to a computer. For now I carried over all the settings from the 600s to the 702. To install the shunt I simply cut power to the system and swapped in the new shunt. After install I replaced the bus bar shield and headed in to the cabin to swap out meters.
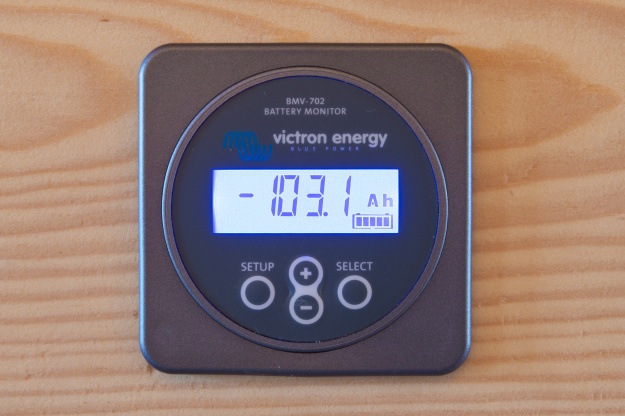
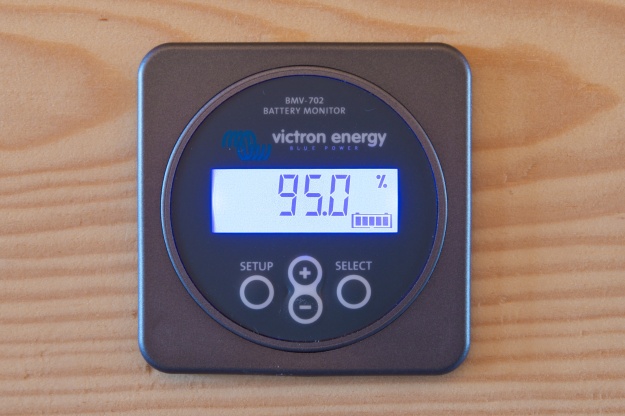
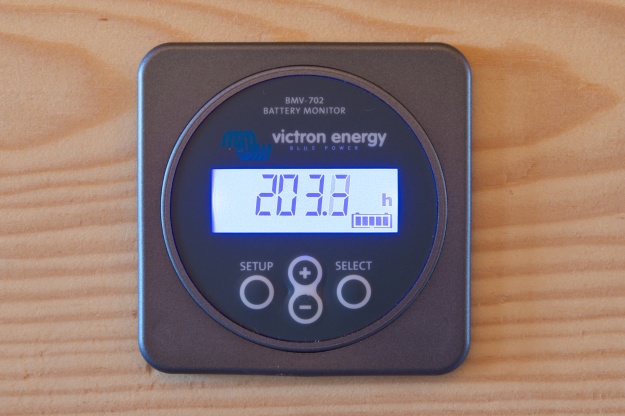
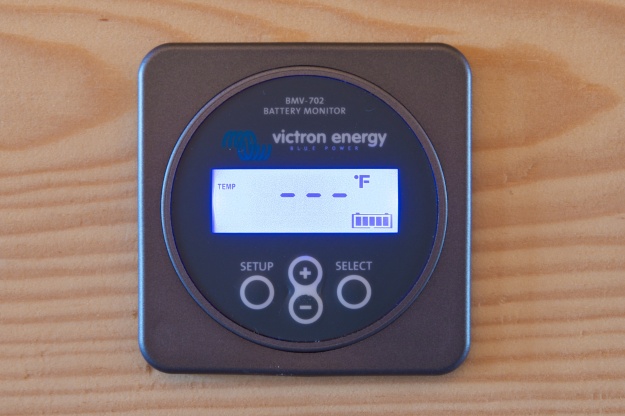
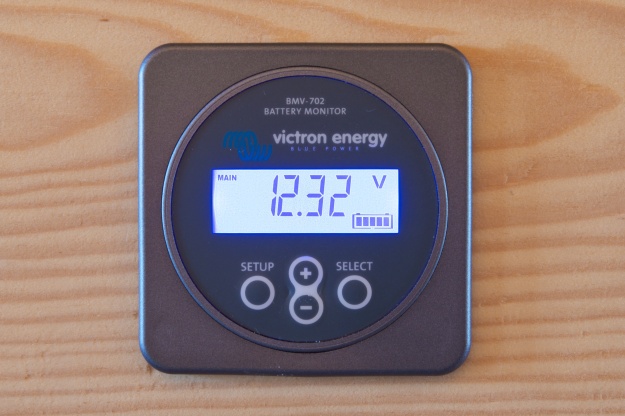
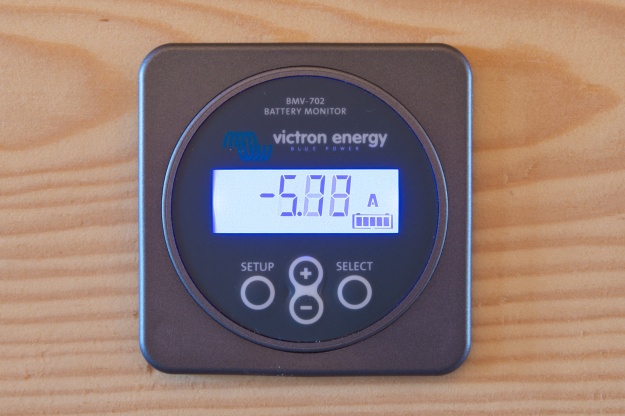
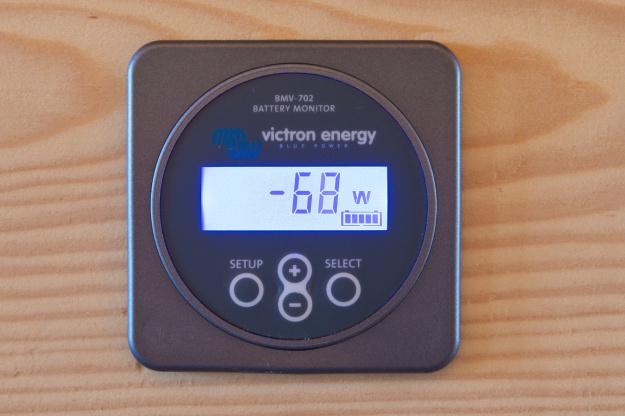
The 702 retains identical physical dimensions to the 600s, making for a seamless upgrade. I spent more time taking photos than installing this time around. The “+” and “-” buttons toggle through the following displays:
- Amp hours
- State of charge (percentage)
- Time to go (hours)
- Battery temperature*
- Voltage
- Current (Amps)
- Power (Watts)*
- State of charge icon (lower right of display)*
*Added feature
The added features to this meter (temperature, watts, fuel gauge style state of charge icon) only add to the utility of the meter in our application. Programming is straight forward and the text scrolls across the screen on the 702. You no longer need to program with the user manual in one hand like on the 600s, where a displayed abbreviation corresponds to a definition in the manual. I recommend setting the scroll speed just a bit faster than factory preset on the 702 for faster programming.
In everyday use I usually leave the display on the percent readout and toggle between the amp hours and watts displays. An easily missed convenience on the 702 is the backlight. It can be set to “always on” or programed to turn on for several seconds once a button is clicked. When set to turn on after a button click the first click does not toggle through screens – it only turns the backlight on. I really like this small touch (ie, not having to toggle back to the screen I was on before turning the backlight on).
UPDATE: 5.28.2014
Just the same as on the BMV-600s, the 702 produces an error in its readout under a very specific condition. When multiple large (>300 watt) loads are applied the meter will get stuck reading out 85 watts / 6.5 amps. The voltage will remain accurate however. Observed loads at time of error:
- Kurig K10 MINI Plus Brewing System running
- Oven on (300 watts)
- LED lights (100 watts)
- Well pump turned on (water running)
Once the error was in effect, several different approaches were attempted to reset the meter and remedy the situation. This took some time to perform since after several of the attempts the meter had to be reprogramed to the desired settings.
- synchronisation
- meter reset to default settings
- cut power to meter 5 seconds
- cut power to meter 30 minutes
- cut power to shunt 5 seconds
- cut power to shunt 30 minutes
- disconnect Solar input (zero input)
- disconnect Inverter and all loads (zero output)
- disconnect solar and all loads (zero current at shunt)
All failed. I reprogrammed to desired settings and then waited… After about 12-16 hours it resumed normal operation. I’m still attempting to figure out what is happening. Again, this is a very specific situation and though it has been reproduced reliably, it only happens when there are multiple large loads and at a frequency of about 4 or 5 times a year. The glitch first occurred when we ran an air conditioning unit off battery power. Now it appears that the well pump and the Kurig can do the same. The exact cause is unknown and under investigation. I would really like to be able to hit a button and reboot the meter instead of waiting 12-24 hours for the meter to fix itself.
Bottom Line: I would buy this meter again. The feature set and build quality are second to none. And while the glitch is nuisance, it occurs infrequently. I’m confidant that a solution will eventually be uncovered (I’ll review my wiring, it could very well be my fault). Also, look for a new post this winter once a battery temperature sensor is added.

Do you still have the “error in its readout under a very specific condition”
Yes and No. The problem persisted so we re-wired the monitor to resolve the issue. We sacrifice one of the battery monitor features but found the increase in reliable readouts worth it. The monitor now only tracks battery discharge and no longer tracks battery recharge. In other words, the solar charger now bypasses the battery monitor. In practice, we do not know the state of charge until after the batteries are full and the monitor resets to 100%. If at 70% and we get sun the battery monitor will stay at 70% and not show any gains from the sun. Only at full charge will the monitor be accurate again. Regular return to full charge makes it work well with our setup.
I read on the installation manual of the older BMV shunt that you must not have any other cables on the bolts on either side of the shunt – in other words the shunt must only have the cable connectors for the -ve battery/load cable. Other cables such as that from the charge controller should be joined into your system elsewhere.
Andrew, you nailed it. I liked the idea of the monitor tracking every amp in and out of the batteries but after the rewire (removing the solar input from the shunt) it has worked without flaw for over a year now.